Sunflower-timelapse
Use a Raspberry Pi and Camera Module to create a timelapse of a sunflower growing
This project is maintained by tamboekie
sunflower-timelapse

Background
My son planted a sunflower seed at school and had to bring it home to look after it and watch it grow. I thought it would be good to use time-lapse photography as a way to capture the slow progress and play it back later. Below, I tried to document the various commands I used to make this happen. I will admit that none of this is perfect, but it is offered in the hope that someone may benefit from it. The assumption is that you have a basic understanding of the Linux terminal, but you may have not played with time-lapse photography before.
Overview of the project
The sunflower was left to grow quietly in a corner of the conservatory for the first part of it's life. I took regular photos of it's progress, but I did not time-lapse it yet. I wanted to capture the later stages - as it starts to get ready to flower - as a time-lapse. A Raspberry Pi is ideal for this work, since it is small enough to tuck away and forget about it. The RPi, camera and power supply was placed well outside the reach of small fingers. The camera module was angled slightly down to the where I hoped the sunflower would eventually open. I captured images from about 5am to 9pm every day, and then each day I would process the images into a video of the day. Soon I realised that I could script the simple commands and make life a bit easier. The only manual bit left was choosing the first and last image of the day: On cloudier days the first useful image was a bit later in the morning, and similarly, the last image of the day came sooner on cloudy days. During the time-lapse capture, there were some issues I had to content with:
- The light levels vary substantially over the course of the day, and according to weather conditions. This made some images darker or lighter, which really bothers the eye as you play back the video. I had to compensate for brightness/exposure variations.
- Early (or late) in the day, the colour of sunlight changes as the angle of rays change through the atmosphere. A camera should try and capture the true image as the eye would perceive it, so I would not expect the camera to exactly compensate for this colour variation. I had to process the images and adjust the white balance.
- I have been blessed with two active little boys. They run. A lot. Through the conservatory. Add to this the odd windy day and you can imagine that the tall, dangley sunflower tends to sway a bit. The result was that some days the time-lapse video wasn't very good, and I had to discard these video. The days the family went out were the good days (for both us and the sunflower).
The timelapse
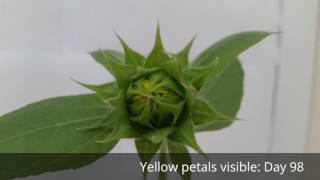
The final video with timelapse portions can be seen on below. I indicated progress by adding the number of elapsed days to the video. Sadly, the sunflower opened at night which means that I missed the actual moment it fully opened.
Hardware
I used a Raspberry Pi, a Camera Module and other miscellaneous bits to build the photography rig. The sunflower was placed in the conservatory, as it offered good light. I did not want to try do this outdoors since that would involve weather-proofing the Pi and camera. Here's a short list of items I used:
- Raspberry Pi 3 with a small heat sink. Any model B Raspbery Pi will work for this project.
- Raspberry Pi Camera Module V1.
- An official 2.5A power supply.
- A very rough wooden frame to position the camera where I wanted it.
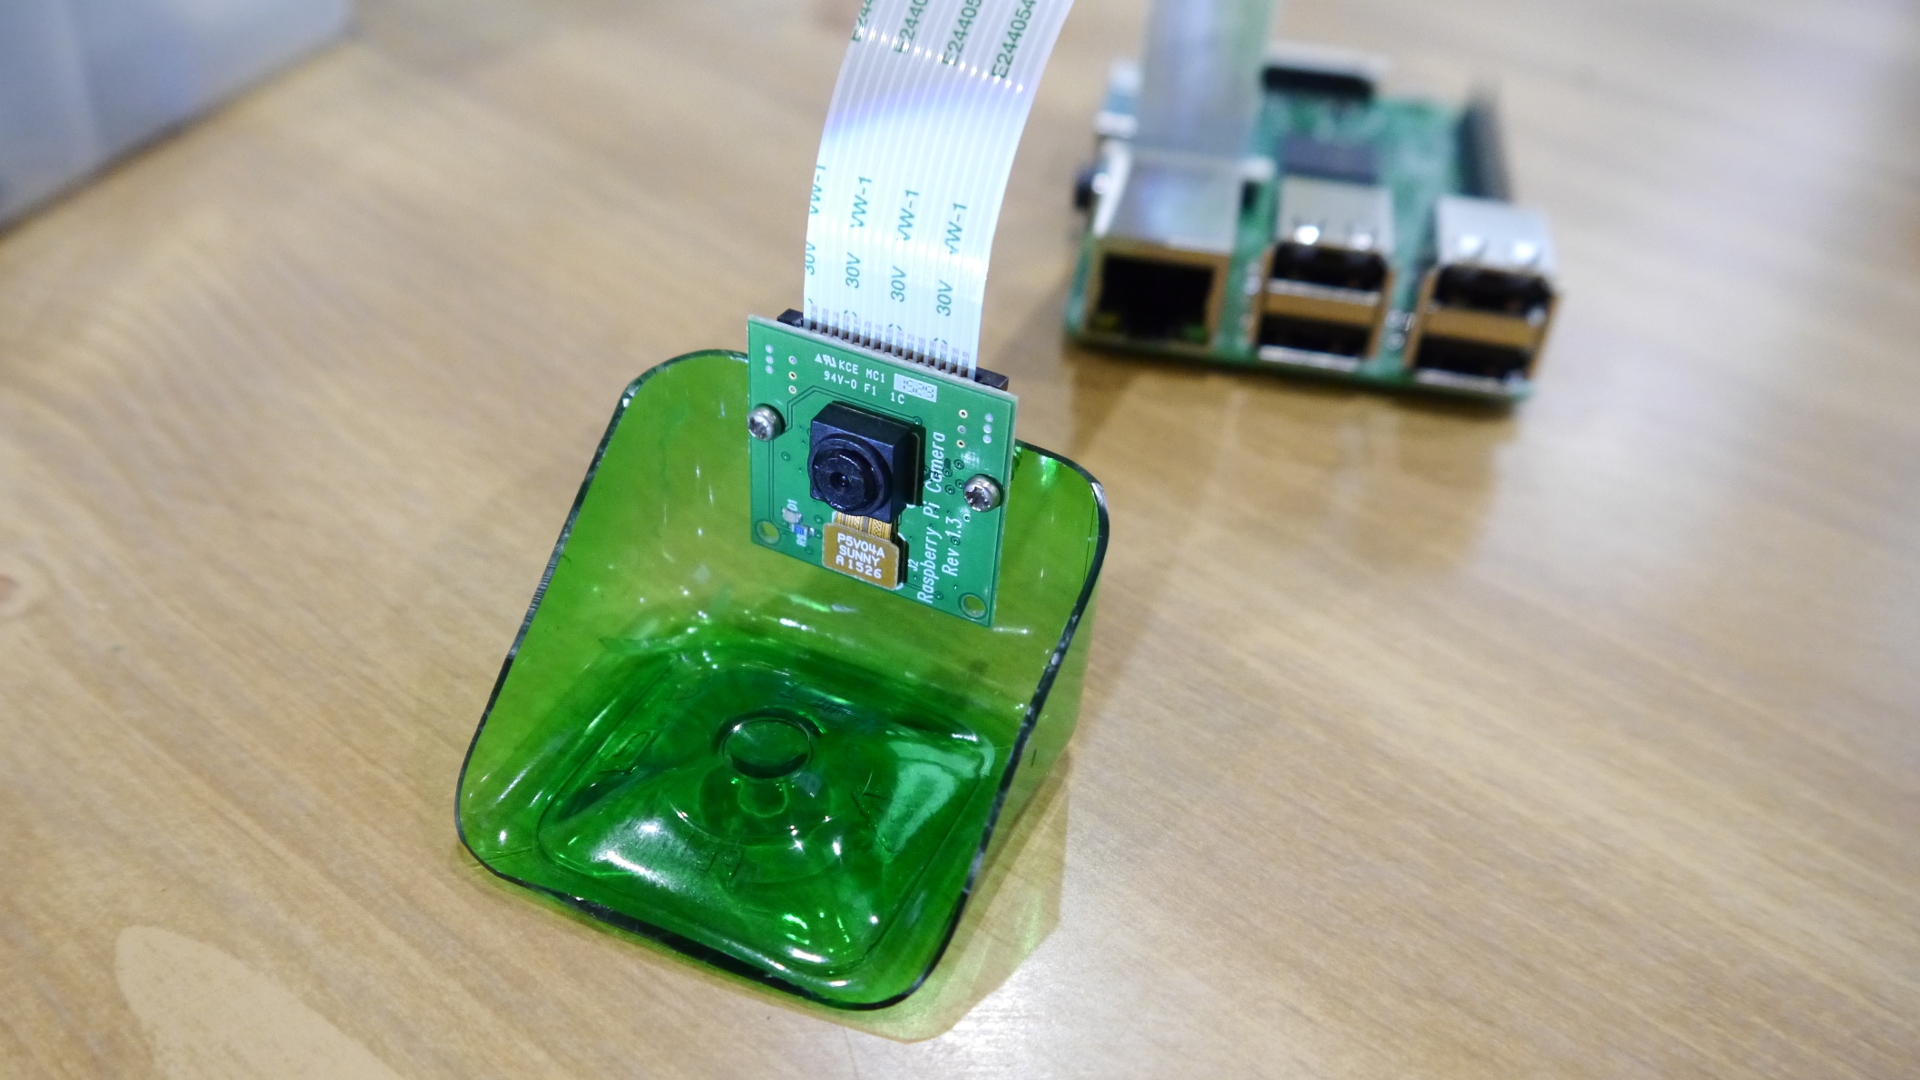
- A home-made camera mount, angled to point at the sunflower, of course.
The actual build of the frame and camera mount is not that important - I did the minimum to make sure it was fixed properly. I will add that a sturdy camera mount is very important. The camera module is nearly impossible to position without a mount - don't use a hot glue gun or Blu-Tack. I made my mount from a small, square plastic bottle, cut down to the right size and then screwed into the wooden frame I made.
Software setup
Raspberry Pi installation
You will need to do some basic setup on the Raspberry Pi. It may be possible to do everything on the Pi, but I chose to most of the post-processing on my desktop machine
- Raspbian Jesse - this is the recommended OS so you probably have this already. Both the Lite and the Desktop variants will work fine.
- You will need to enable the Camera Module using
raspi-config- read more here
Client (desktop) installation
I use Ubuntu Linux as my desktop OS. I needed the following packages:
- ffmpeg
- git
- imagemagick (convert command)
-
timelapse-deflicker- follow instructions from cyberang3l's github -
autowhiteby Fred Weinhaus
Run the commands below to install the dependencies:
# install deps from repo
sudo apt-get update
sudo apt-get install ffmpeg libavcodec-extra imagemagick git
# download and install scripts for current user into ~/bin
mkdir -p ~/bin
cd ~/bin
git clone https://github.com/cyberang3l/timelapse-deflicker
ln -s timelapse-deflicker/timelapse-deflicker.pl .
git clone https://github.com/tamboekie/sunflower-timelapse
ln -s sunflower-timelapse/mklapse.shNOTE: Finally, you must manually install (copy) the autowhite script into ~/bin from Fred Weinhaus's site. Do not forget to set it as executable by running chmod +x ~/bin/autowhite.
Capture the photos
The command-line utlity to capture still images with the Raspberry Pi is called raspistill. It can be used to grab images from the camera module and allows a full-control of the sensor. While it has a built-in time-lapse mode, I found that this was not very stable over long periods. I used cron to schedule the capture instead. Note that using cron means that you will not be able to capture faster that one frame per minute.
A simple script is useful to hold all the settings for raspistill. This is better than adding all the settings directly to your cron job. I left most things at the default:
#!/bin/bash
DATE=$(date +"%Y%m%d_%H%M%S")

raspistill -q 97 -vf -hf -ex night -a 12 -o sun$DATE.jpg -v- The script will create pictures with the date and time added to the filename. This makes it easy to work with the files if you are looking for an image taken at any one moment. However, to create a video the files will need to be renamed later.
-
-q 97: JPEG quality is 97. -
-vf -hf: Flip both the vertical and horizontal axis. Depends on how you mount your sensor. -
-ex night: Use night exposure. This seems to work well for daylight too, but allows the camera to choose longer exposures when the light is low. -
-a 12: This adds the date and time directly to the picture. Remove if not needed. -
-v: Turn on verbose output. You can choose to omit this if not needed.
You can add a cron job like this:
crontab -eThen, just add this line:
*/2 5-20 * * * $HOME/sunflowercam.sh
-
*/2: Will take an image every 2 minutes. The fastest you can do this is 1 minute -
5-20: Images will be taken from 5am to just before 9pm - in the South-East of England, usually light during this range in the summer months. Experiment with what is right for you. -
* * *: The images are captured every single day without exception. Rememnber to remove the cron job at the end of the project! - Also remember that each image takes up to 3Mb of disk space - make sure you have enough space
Copy the images to NAS
As I chose to process the images on my desktop, I needed an easy way to copy images across from the Pi. I initially used sftp, but eventually found rsync faster:
rsync -vvz -t -e ssh /home/pi/*.jpg user@hostname.local:/media/data/sunflower/- Substitute your own
userandhostnamein the above command. - Will use SSH and will prompt for password.
- Add
-nto do a dry-run and test the command without doing any copying.
Note: As I said above, make sure you have enough space and regularly remove old images from the Pi once you have them copied to a safe place.
Cropping
The camera module has a fixed focus and without a lens it needs to be more than 1 meter away from the subject. I placed my camera as close as practical and then captured the images at full resolution with the intention to crop/resize later. Some experimentation is needed here to ensure good focus. The final aim is to make a video of all the images and I wanted to work at full HD, or 1920x1080.
Input images are 2592x1944 on the v1 camera module, but my target frame size is 1920x1080, and no I found that no resizing was needed. Only cropping.
- Calculate X offset
- Image width = 2592
- Target width = 1920
- X-offset = (2592 - 1920) / 2 = 336
- Calculate Y offset
- Image height = 1944
- Target width = 1080
- Y offset = (1944 - 1080) / 2 = 432
Now use convert Imagemagick to crop the images
convert input.jpg -crop 1920x1080+336+432 output.png- I convert the JPEG input image to a PNG to avoid the loss of quality
White balance
There is a really useful script written by Fred Weinhaus called autowhite. It managed to balance all images to an acceptable level without any further processing needed.
autowhite input.jpg output.pngI chose to output in PNG format to avoid further image quality loss.
Deflicker
Images exposure may vary substantially between images which will cause the timelapse video to flicker. One solution is to adjust the exposure of each image, looking at the average value of the last few frames. This is the approach of the timelapse-deflicker script. Get it on github:
sudo apt-get install libfile-type-perl libterm-progressbar-perl libimage-magick-perl libimage-exiftool-perl
git clone https://github.com/cyberang3l/timelapse-deflicker
cd timelapse-deflicker
./timelapse-deflicker -h
Rename Images
Rename a folder full of images (in this case they are named according to date and time) to a numbered list:
ls sun20160808*.jpg| awk 'BEGIN{ a=0 }{ printf "mv %s img%06d.JPG\n", $0, a++ }' | bashOr, you could just symlink them:
ls ~/matrix_drc/sun20160810*.jpg| awk 'BEGIN{ a=0 }{ printf "ln -s %s img%06d.JPG\n", $0, a++ }' | bashIf you wish to return to the original naming convention, these commands may help:
exiv2 rename -vtF -r "sun%Y%m%d_%H%M%S" *.JPG
find . -name '*.JPG' -exec rename 's/\.JPG/\.jpg/' '{}' \;
Video
Encode the numbered images to an MP4, 15fps, Q=22
avconv -y -r 15 -i img%06d.JPG -r 15 -vcodec libx264 -crf 22.0 -vf crop=1920:1080,scale=iw:ih,unsharp,hqdn3d fullhd_unsharp2.mp4- Will crop the input images to 1080p. Not sure what will happen if inout is smaller.
- I find the unsharp filter helps with the soft images out of the RPi camera v1
- The hqdn3 filter reduces some noise, which in turn reduces file size, but still preserves edges.
Putting it all together
These concepts have been cobbled together in couple scripts at https://github.com/tamboekie/sunflower-timelapse. The README should explain how to install and use it.
References
- Click here for the idea that forms the basis of the work above.
- General timelapse info at www.learntimelapse.com
Final thoughts
- If you have a choice, get the V2 camera module. It uses a much better image sensor, which should result in higher quality images.